 Cardflow for Mac User's Guide
Thanks for downloading Cardflow for Mac!
There are many advanced and subtle features to discover.
Bookmark this page as a handy reference.
The Board Editor

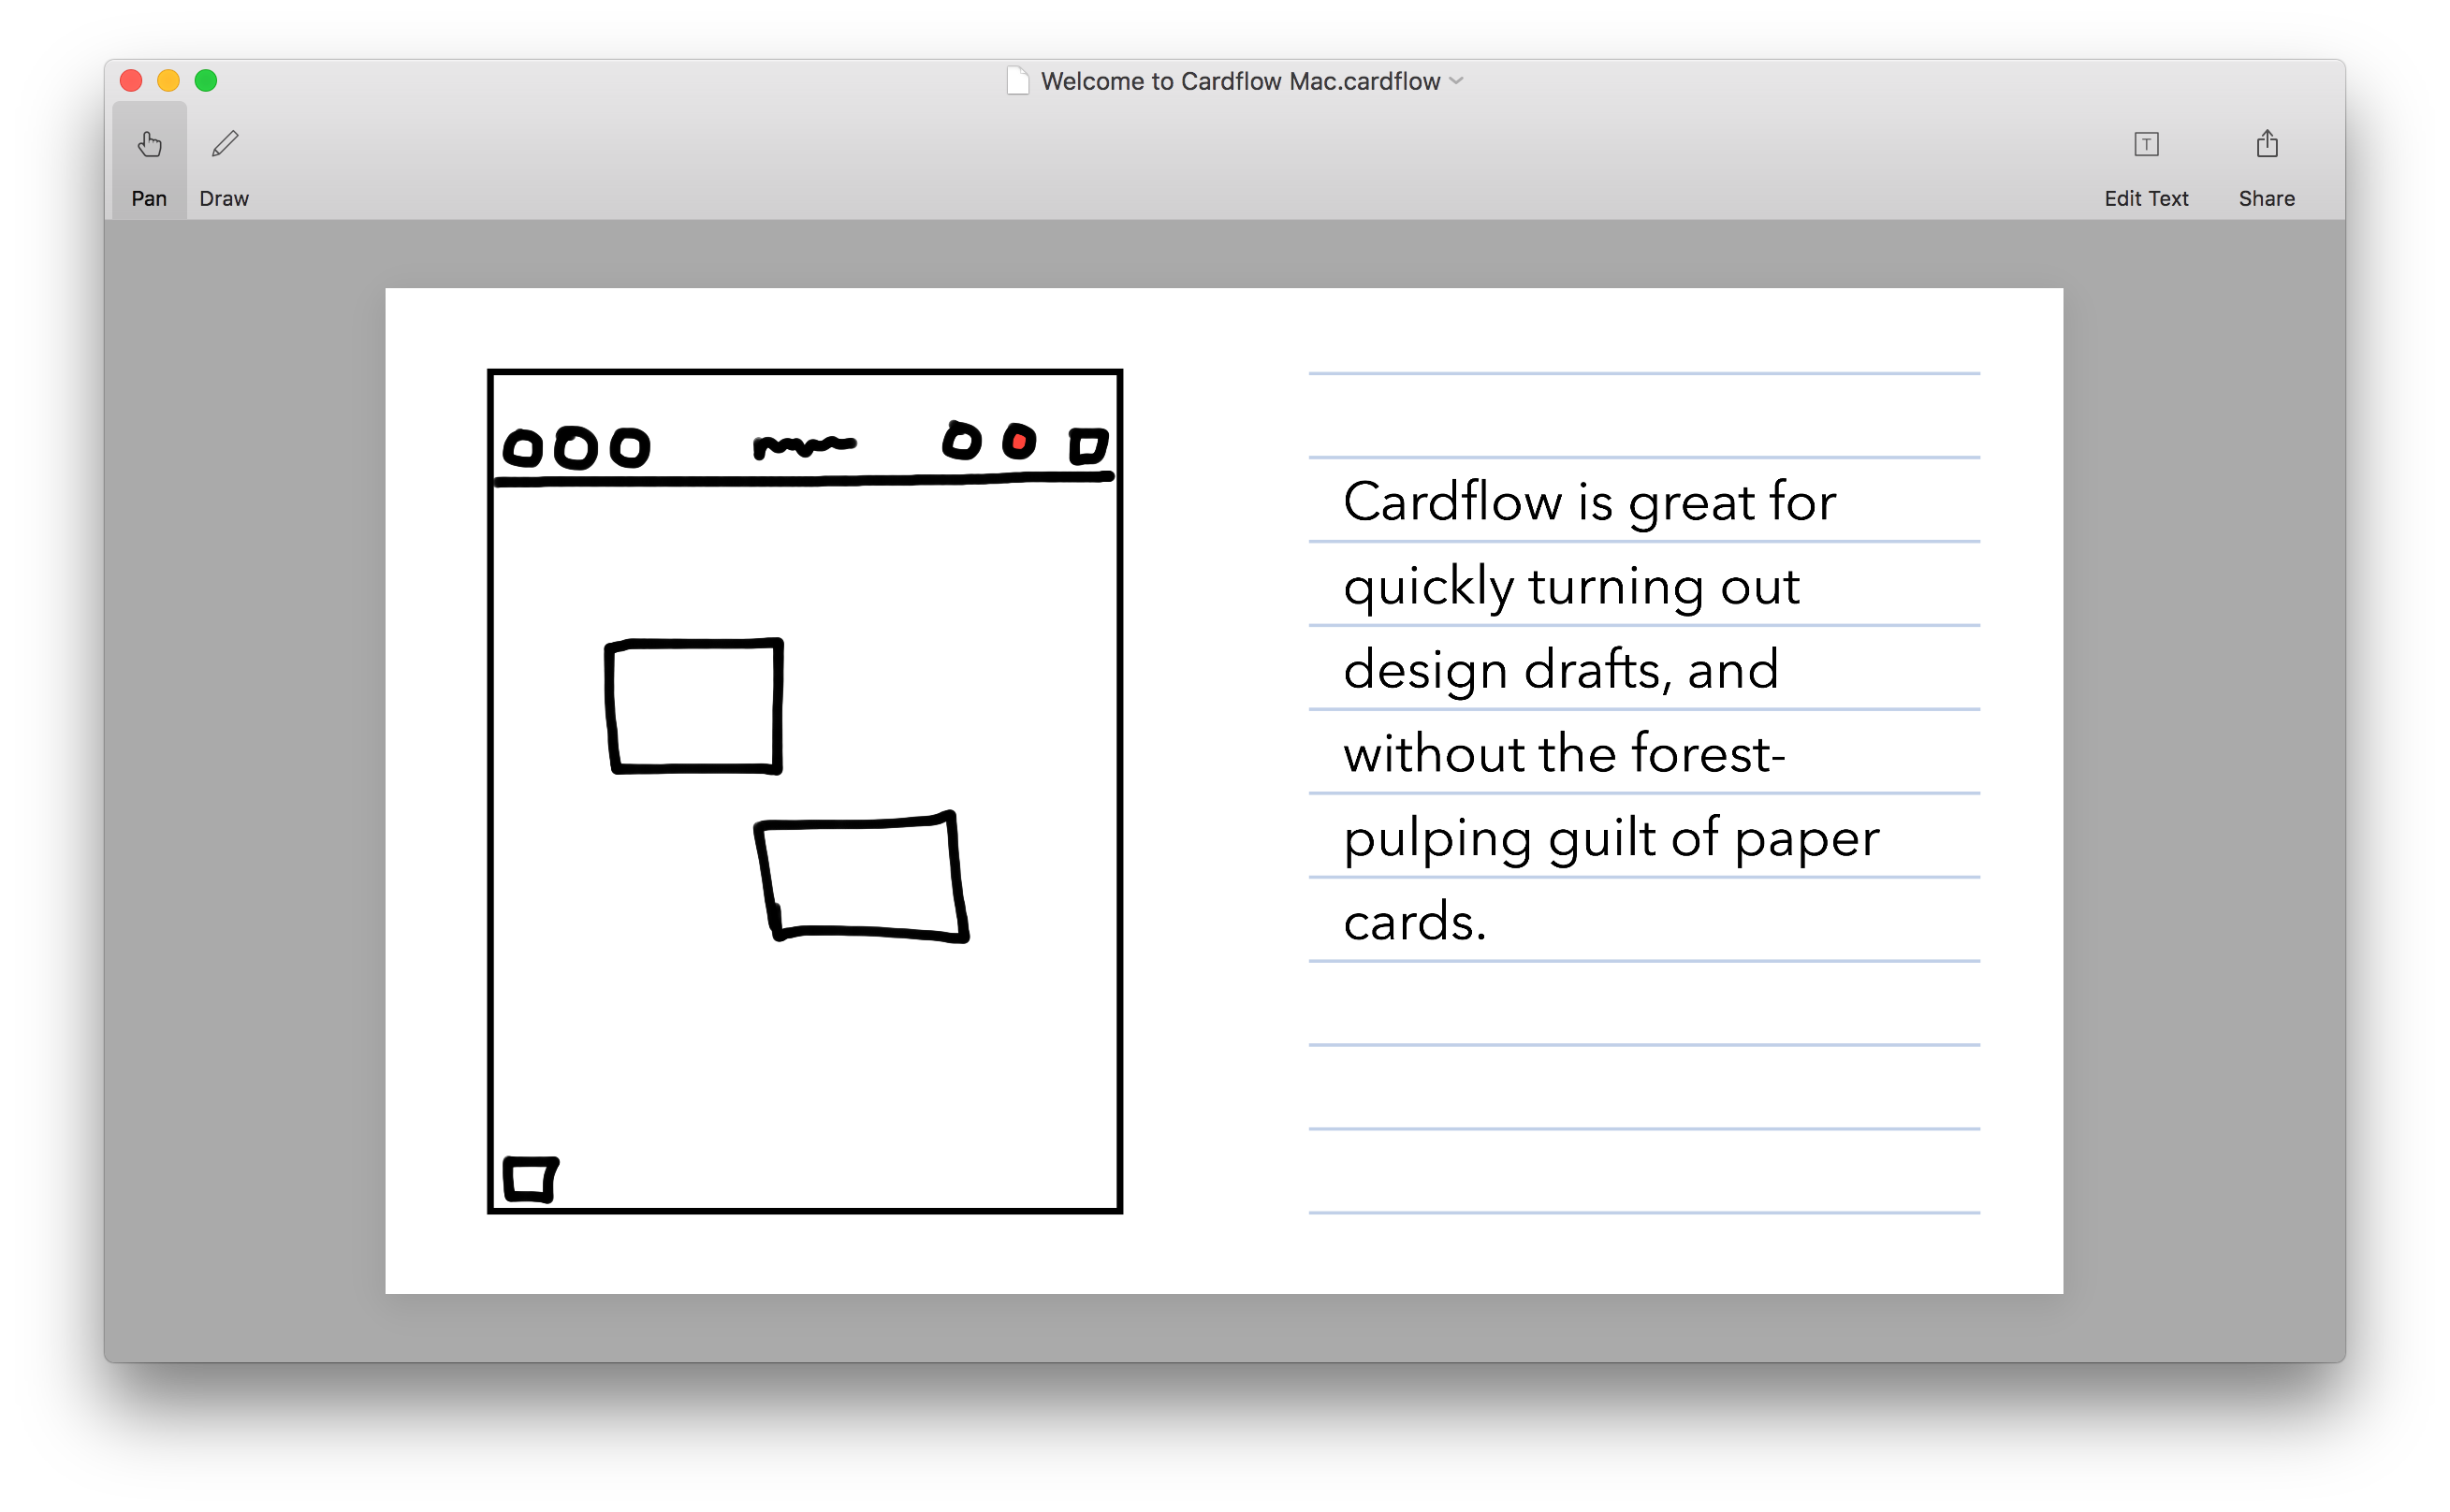
Each Cardflow document consists of a board with a number of cards arranged on it.
By default, the Board Editor starts in Pan Mode ( ), where you work with the cards (vs. drawing on the board).
Drag on the board to pan around, and drag cards to move them on the board.
), where you work with the cards (vs. drawing on the board).
Drag on the board to pan around, and drag cards to move them on the board.
Selecting Cards.
Hold the Command (Cmd) key and drag to select cards.
You can also Cmd+click on a single card to select it.
Flipping Cards.
Press the space-bar to flip the selected cards.
If any selected cards are flipped, they will all flip to the front, otherwise they will all flip to the back.
This makes it easy to quicky get multiple cards on the same side.
Deleting Cards.
Press "Delete" to delete selected cards.
Magic Arrange.
Select two or more cards then select an option from the Arrange menu to arrange them into stacks, rows, columns, or grids.
Use Cmd+Arrow keys to quickly arrange groups of cards.
Modifying Multiple Cards.
Right-click on selected cards to show options you can apply to all of them.
You can change the templates or colors of multiple selected cards at once.
Copy and Paste.
You can copy selected cards from one board to another.
Copy and Paste Styles.
When you select a single card, you can also copy its styles (color, template, and text settings), then paste them to other cards.
Board Color. Change the board color from the Cards menu or by right-clicking on the board.
Exporting to PDF.
From the File menu, you can export to PDF - either the whole board on a single page, or each card on a separate page.
Tip: Select a set of cards before selecting "Export" from the action menu to export just the selected cards.
Exporting card images.
From the same menu, you can also export the selected cards as a set of images.
Exporting OPML.
Similarly, you can also export the selected cards as an OPML file, which can be imported into other apps.
Exporting to and Importing from CSV.
Likewise, you can export just the card text to a comma delimited (CSV) file.
The CSV file will have four columns with:
- The front text,
- The back text,
- The front web url, and
- The back web url.
Exported CSV files can be edited in an app such as Numbers, then re-imported back into Cardflow via "open in...".
This is a handy way to quickly create or import a lot of information, such as for flash study cards.
Printing.
You can print either the board view or a list of cards. Toggle this in the print options menu.
Snap to Grid. Toggle snap-to-grid from the Cards menu.
This is handy if you really need you cards to line up exactly right (we totally understand).
Adding Cards. Double-click on the board or press Cmd+M to add a card.
Editing Cards.
Click on an unselected card to edit it.
The Palette

The Board Editor and Card Editor share several common tools.
Click the pen icon ( ) to enter Draw Mode.
This lets you draw directly on the Board.
) to enter Draw Mode.
This lets you draw directly on the Board.
Quick toggle.
Press the tilde key (`) to toggle between panning and drawing.
Draw in Front or Behind.
There are two drawing modes: Front (default) and Behind.
This is indicated by the two icons at the left of the palette.
Select Behind to draw behind existing ink.
Very handy for adding background splashes to call out particular elements, or adding shadows.
Erasing Ink.
Select the Eraser icon in the palette ( ) to enter Eraser Mode.
Shapes. Select the Circle or Line tools to draw basic shapes.
Straight Lines. You can also hold down Shift while drawing to draw straight lines.
Tip: This is handy for drawing grid lines on the board. Use this with the grid card template for layout projects.
Pen size and opacity.
Use the sliders in the palette to adjust the pen size and ink opacity.
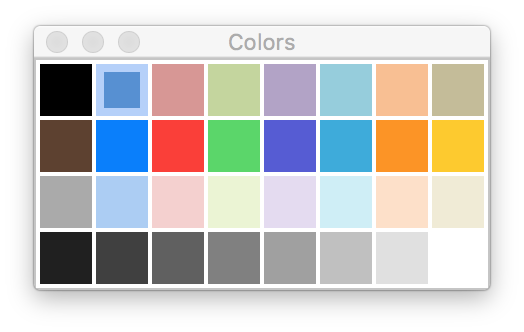
Custom Colors.
Click the selected color to customize it.
You can reset the color palette from the Cards menu.
Selecting and Editing Ink
Cardflow uses a vector ink engine that allows drawings to be moved and resized without loss of information.
We've tuned the ink settings in Cardflow to be great for writing and sketching.
Selecting Ink.
Hold down the Cmd key to lasso select ink strokes.
Drag the selection to move the ink.
Drag the round rotation grip at the top of the selection to rotate ink.
Drag the resize grip in the bottom right of the selection to resize it.
Color Separation.
When you select ink of more than one color, the list of selected colors appear at the bottom left.
By default, ink of all colors are selected, but you can click on one or more colors to select just those colors.
This is handy to move or delete ink that's behind, without disturbing the foreground.
Use this to change highlights or shadows.
Copy, Cut, and Paste Ink.
Once you've selected some ink, right-click inside the blue selection area to show ink edit options.
Select copy to copy all selected strokes (which may extend outside the selection area).
Recolor selected ink.
Select the recolor option to change the color of the selected ink.
Flip selected ink.
Select the flip ink option to horizontally flip the selected ink.
Tip: Copy ink, then flip it to create a symmetric mirror image.
The Card Editor
Each card is like a mini canvas.
You can write, draw, or type on it.
Paging Between Cards.
When viewing the card at 100% zoom, press the left and right arrow keys to quickly switch to the next or previous card.
Flipping Cards.
Press the space-bar to flip the current card over.
A blue page indicator appears in the lower right of a card to indicate that it has content on the back.
Typing Text
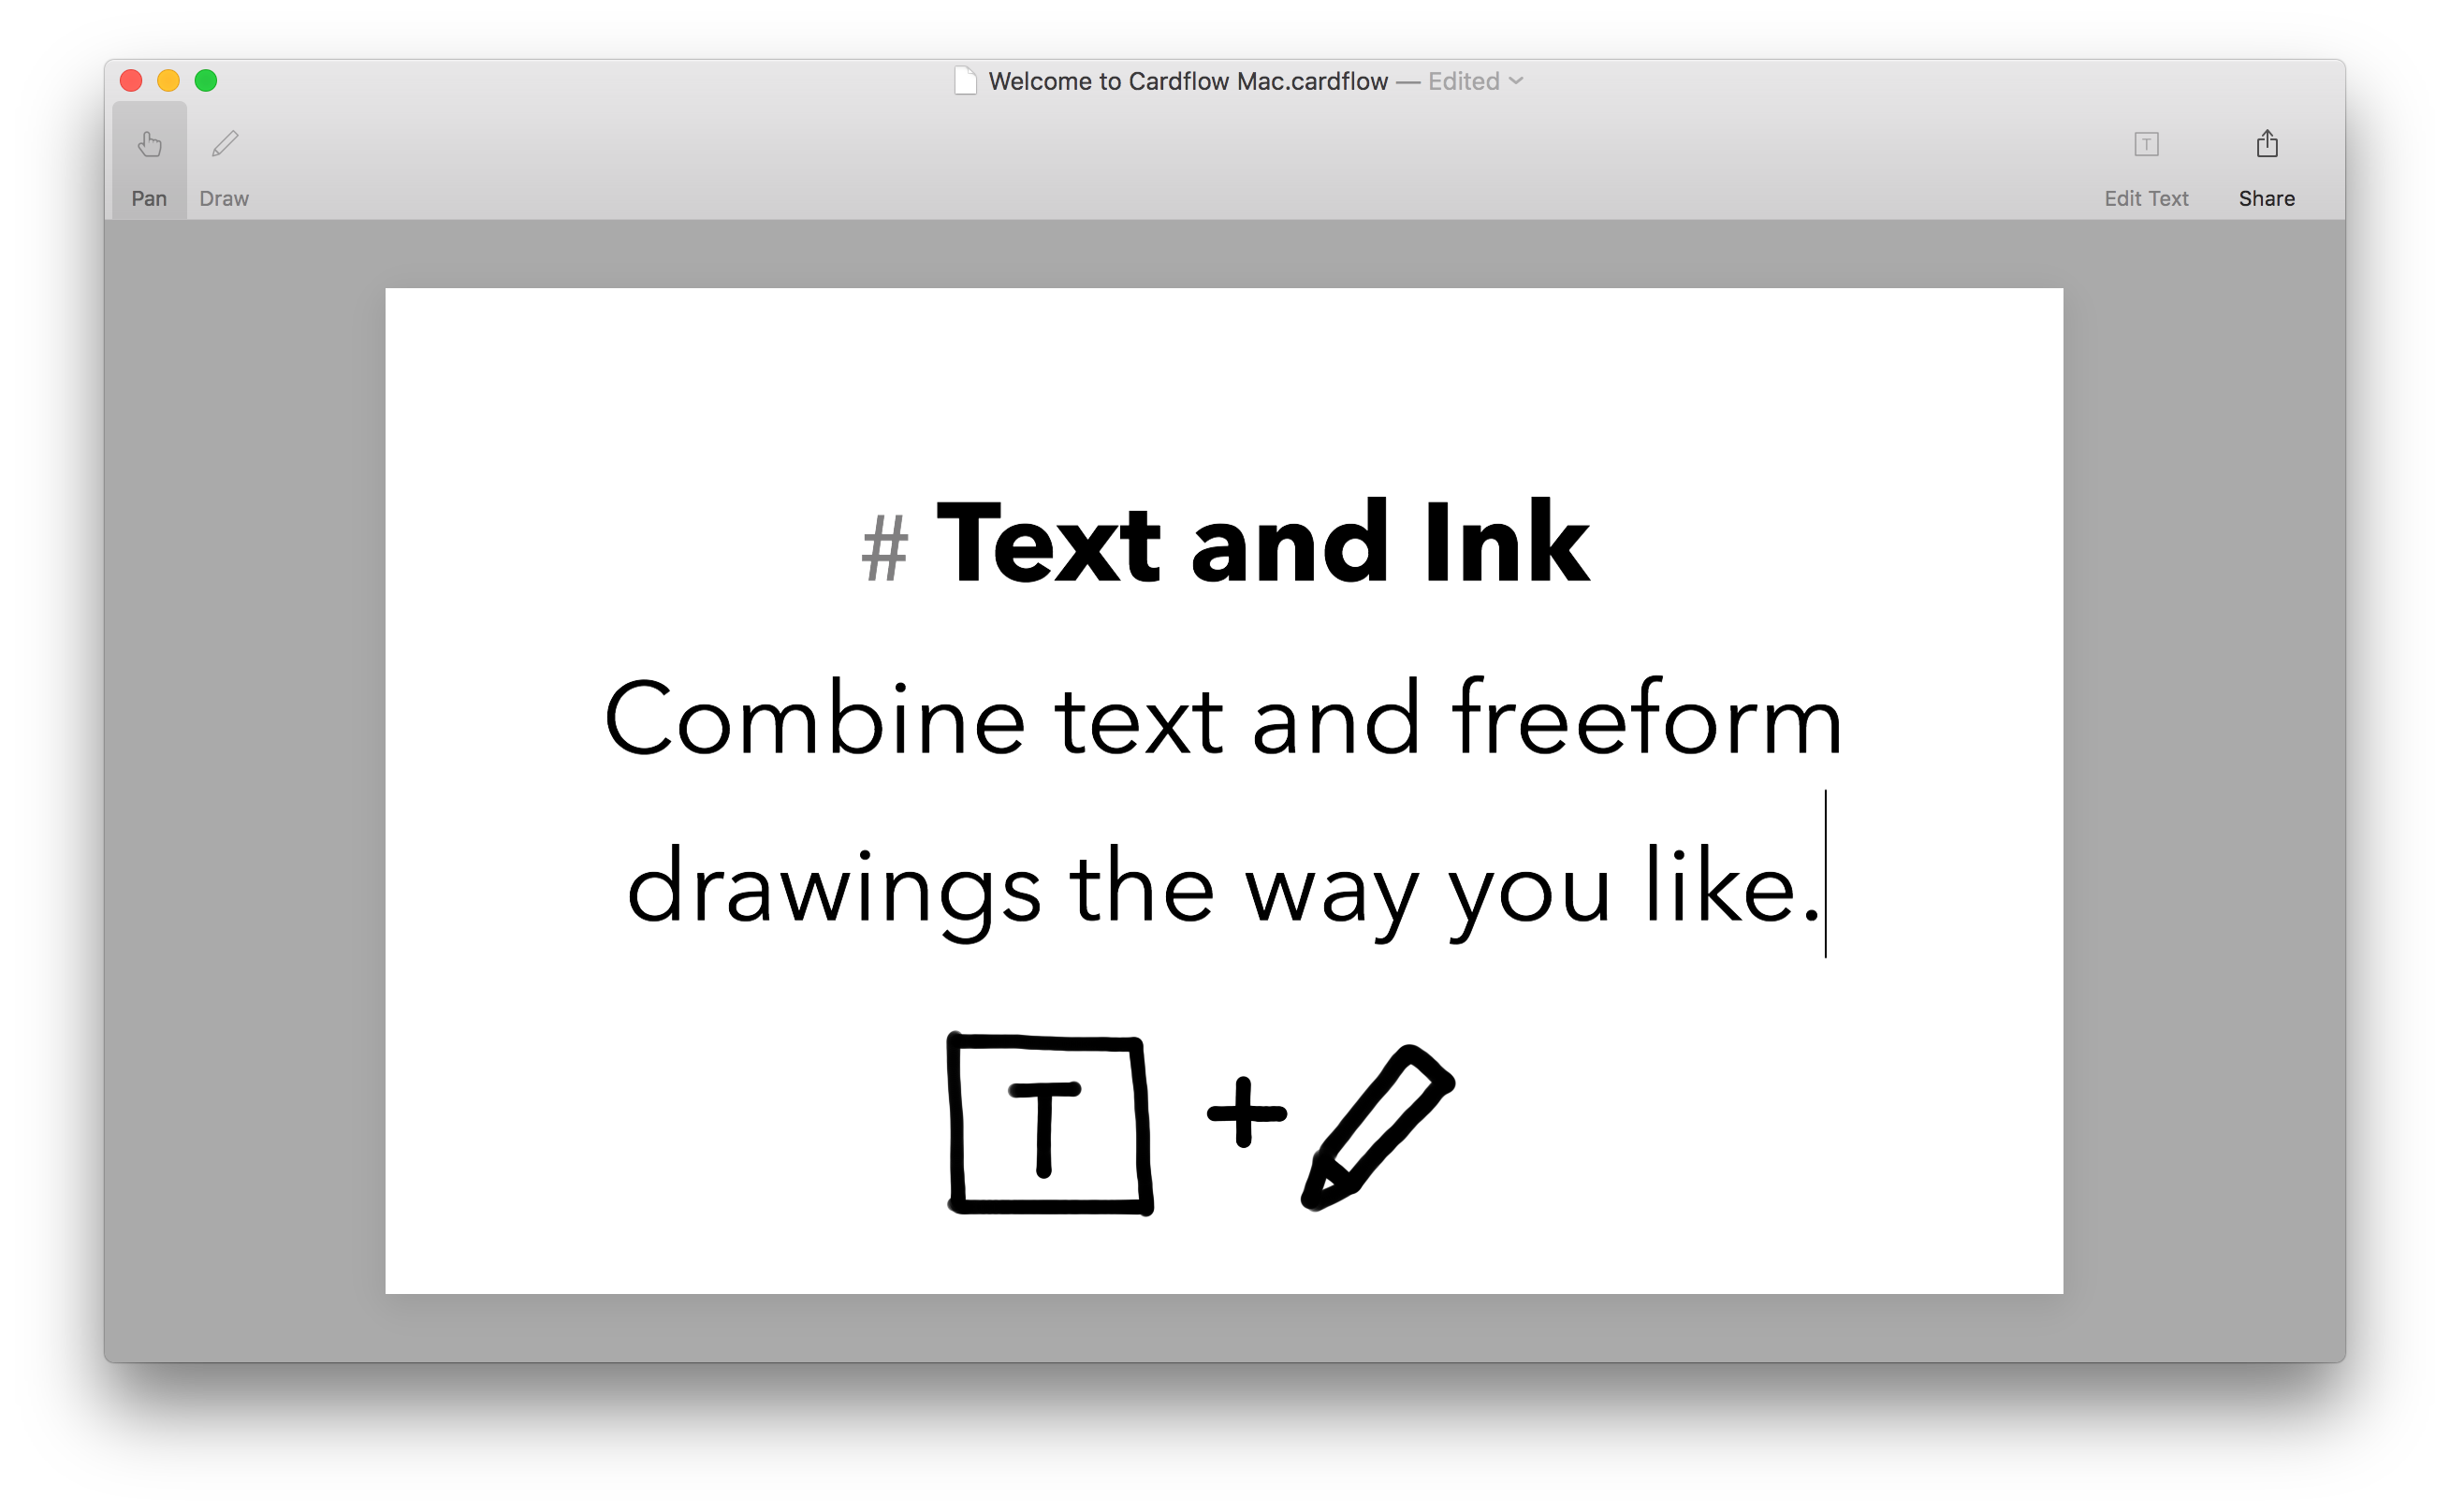
Press the Return key or click the mouse while editing a card to edit its text.
Press Escape to exit editing text.
You can also adjust the App Preferences to immediately edit text when opening a card.
The editor supports basic formatting using a simple markup system:
Headings.
Put a pound (#) character at the beginning of a line, followed by a space to make text on that line appear as a heading.
Emphasized (italic) text.
Enclose words with a single asterisk (*) to make them appear in italic.
"This is *emphasized text*." appears as "This is emphasized text."
Bold text.
Enclose words with a two asterisks (**) to make them bold.
"This is **bold text**." appears as "This is bold text."
Text Font. Press Cmd+T while editing text to select a font.
Text Colors. Select "Change Text Color" from the Cards menu while editing a card.
Default Style. Select "Set as Default Style" from the Edit menu while editing a card to make new cards use its settings.
Pictures
Inserting Pictures.
Each card can contain one picture at a time.
Drag a picture from the Finder or Photos app onto a card.
Drag pictures onto the board to quickly create multiple cards with each photo.
Pictures are resized to fit into the appropriate frame depending on the card template.
For example, it is sized to fit into the screen frame for the storyboard template.
Picture Toolbar. The Picture Toolbar is automatically shown when Inserting or Resizing a picture.
Drag the picture to position it, and drag the lower right corner to resize.
Click the toolbar buttons to fit or fill the picture in the frame.
Click anywhere else to close the Picture toolbar.
Web Pages
Inserting Web Pages.
Select Edit Web Link from the Cards menu to set or change a link.
You can also drag and drop a URL from the address bar in Safari onto a card.
This will set the card's picture to a thumbnail of the webpage and add a link in the top right of the card.
Click on the link in Pan Mode to visit the web page.
You can link to any web page, including online videos, photos, articles, and your own private documents stored online.
Cloud storage services such as Dropbox allow you to link to your files.
Just drag those links into Cardflow to create cards that represent them in your projects.
You can use this capability to create boards to organize files for each of your ongoing projects or clients.
Card Links
Adding Links.
Add links from the board editor: Hold Shift and drag from a card either to another card or to an unoccupied part of the board to create a link.
Navigating Links.
Click on a link in Pan Mode to open the linked card.
Resize and Position Links.
In the Card Editor, hold Shift and drag links to reposition them.
Shift+drag the bottom right corner of a link to resize it.
Tip: Position links over parts of wireframe prototypes to create interactive "click-through" experiences that you can share.
Both web and card links continue to work in exported PDFs, even when opened on other platforms.
Removing Links.
In the Card Editor, right-click on a link and select "Remove Link" from the pop-up menu.
You can also right-click on a card in the Board Editor and select "Remove Links" to remove all links to and from that card.
iCloud Sync with Cardflow for iOS
You can work on the exact same files with the iOS version of Cardflow.
Either use iTunes File Sharing to transfer files between your iPad and Mac,
or store them in iCloud with Cardflow+ and open those files directly in Cardflow for Mac.
See more details in the Cardflow for iOS's user's guide.
Back to the Cardflow for Mac homepage.